The SmugMug uploader automatically uploads JPEG images, animated GIFs and MP4 movie files to your SmugMug account.
Please note: You need to purchase a subscription to SmugMug before using the SmugMug uploader. Please visit SmugMug's website for details: www.smugmug.com
Run the SmugMug Uploader by double clicking on the SmugMug Uploader desktop icon:
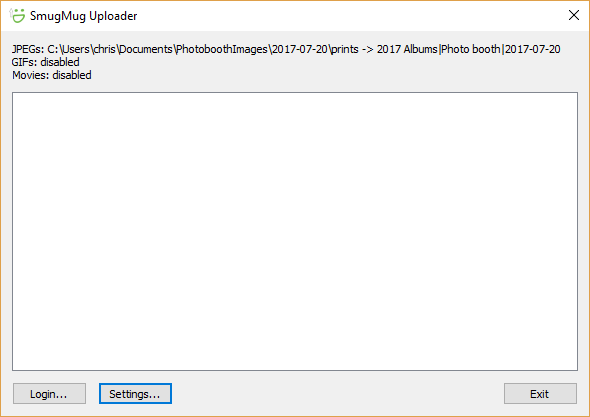
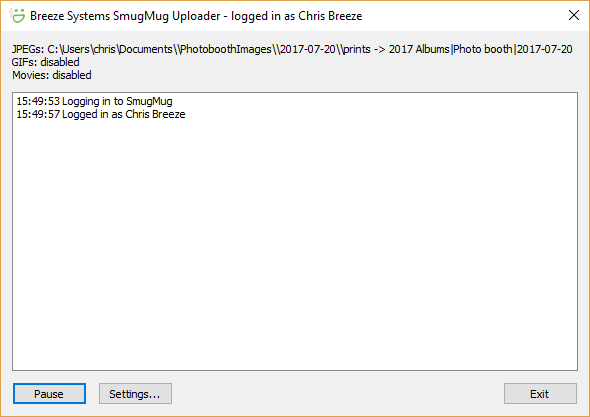
The top of the SmugMug Uploader windows summarizes the settings for uploading JPEGs, GIFs and MP4 files, showing the source folder that is monitored for new files and the destination album where they will be uploaded to in your SmugMug account. The area in the middle shows status messages from uploading files.
Click on the "Settings..." button to display the settings dialog:
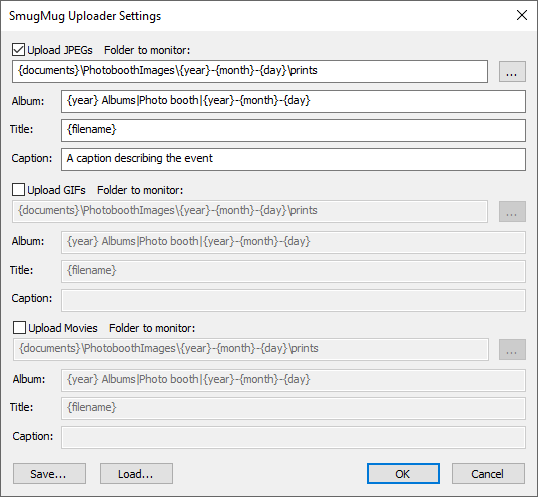
Select the "Upload JPEGs" checkbox to enable the uploading of JPEG images and specify the folder it should monitor for new images in the edit area below. The folder path can use tokens to specify values that use tokens that are evaluated at run time e.g.the default setting of {documents}\PhotoboothImages\{year}-{month}-{day}\prints will be give the following when the SmugMug Uploader is run on July 20, 2017:
C:\users\your_login_name\Documents\PhotoboothImages\2017-07-20\prints
The "Album:" settings specifies the path of the SmugMug album to which the JPEGs will be uploaded. The vertical bar or pipe character '|' is used separate album names to allow albums within parent albums to be specified. The Album path can also use tokens e.g. the default setting of {year} Albums|Photo booth|{year}-{month}-{day} will be give the following when the SmugMug Uploader is run on July 20, 2017:
2017 Albums
Photo booth
2017-07-20
"2017 Albums" is the parent album name created in your SmugMug account and will have a child album named "Photo booth" which in turn has a child album named "2017-07-20" which will receive the uploaded JPEG images.
Each uploaded JPEG can have a title which is displayed when viewing thumbnails and an optional caption. Both the title and the caption can include tokens if required.
The settings for animated GIFs and movie files work in a similar way to the JPEG settings.
The SmugMug Uploader can use tokens related to date and time, filenames and event info, but does not use the shooting data related tokens. Please see the Tokens page for details.
Click on the "Save..." button to save the settings to file. Load the settings from file by clicking on the "Load..." button.
Logging into your SmugMug account
Click on the "Login..." button to log into your SmugMug account. If you have already logged into SmugMug it will ask whether you wish to log in using the saved access token:
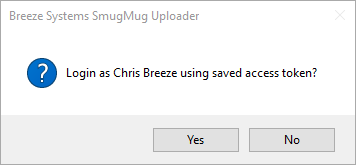
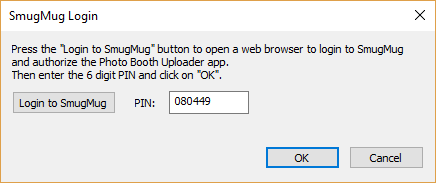
Click on "Yes" if you wish to use the saved account token or click on "No" if you wish to log in using a different account. If no previous log in details have been saved, the access token has been canceled or you clicked on "No" above the login dialog will be displayed:
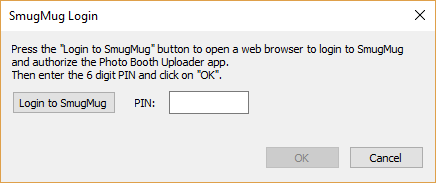
Click on the "Login to SmugMug" button to open a web browser window to login to your SmugMug account. Enter your SmugMug username and password to authorize the SmugMug Uploader app and 6-digit PIN similar to the one below will be displayed:
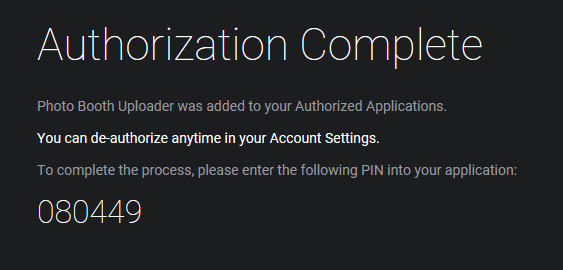
Enter the PIN in the "SmugMug Login" dialog and click on OK:
The main SmugMug Uploader window will display the logged in status in the title bar and the status message area and will automatically start scanning the folders to be monitored for images to upload to SmugMug. It will compare the filename of each file in the folder being monitored with the filenames of the files in the SmugMug album and only upload files that are not already in the album.
Please note: If the SmugMug album already contains a file with the same filename as a file in the folder being monitored for images it will not upload the file even if it is a different image.
Click on the "Pause" button to pause the upload process. Uploads can be resumed by clicking on the button again.
Click on the "Settings..." button to change the settings. Uploads will be paused while the settings are being changed and resumed when the settings dialog is closed.
Click on the "Exit" button to close the SmugMug Uploader. This will save the current settings together with the SmugMug access token. If you do not wish other users of the computer to be able to run the SmugMug Uploader using your saved access token you can delete the setting by running the SmugMug Uploader again and clicking on the "Login..." button to display and then click on "No". Then click on "Cancel" to close the login dialog and "Exit" to close the SmugMug Uploader and the saved access token will be deleted.
Command Line Options
The SmugMug Uploader can also be run using a desktop shortcut or a script with command line arguments to specify the settings. The following command line arguments can be used:
-a |
automatically login at startup |
<xml_settings_file> |
load the settings from an XML settings file |