Note Breeze MDB Payment Utility (introduced in 2021) is a free companion app which runs alongside Breeze photo booth software to accept payments from a wide range of payment systems such as the Nayax VPOS Touch contactless credit card reader. This utility can be used to accept Apple Pay, Google Pay, Samsung Pay and other mobile and NFC payments, debit & credit cards, notes or cash.
How to add a coin acceptor to the photobooth
This page describes how to use an inexpensive coin acceptor with the photo booth mode in Breeze Booth (Windows + DSLR) aka DSLR Remote Pro, and Webcam Photobooth. It will work with any coin acceptor with a micro switch which is triggered when a coin is accepted. The coin acceptor is connected to a USB input device such as a StealthSwitch 3 switch or U-HID board using a cable with 3.5mm audio jack. A simple AutoHotKey script is used to switch the photo booth to standby mode after each use and then to wait for a signal from the coin acceptor before switching back to the ready screen.
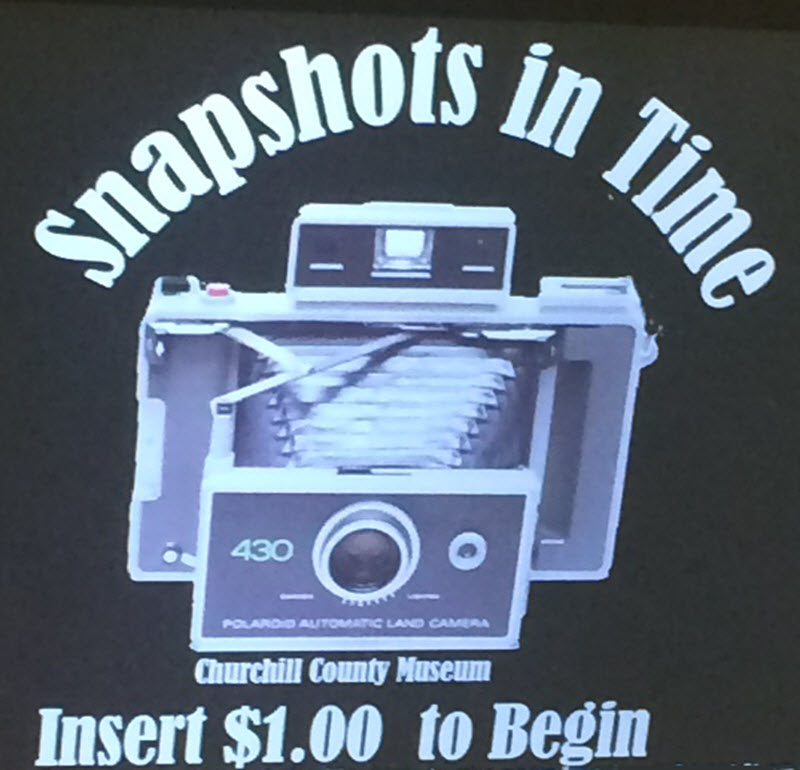
Welcome screen image courtesy of Churchill County Museum
The welcome.jpg screen is displayed during standby mode and can be edited using any image editor to display logos, instructions etc.
Note: When the photo booth is in standby mode the camera’s live view is disabled which avoids problems with the camera sensor overheating due to prolonged use of live view.
Parts required:
1) Coin acceptor with micro switch. The coin acceptor used on this page was supplied by Gremlin Solutions in the UK
2) StealthSwitch 3 USB programmable switch (or a USB HID interface board such as the U-HID)
3) Stereo cable with 3.5mm jacks
4) Two female spade connectors
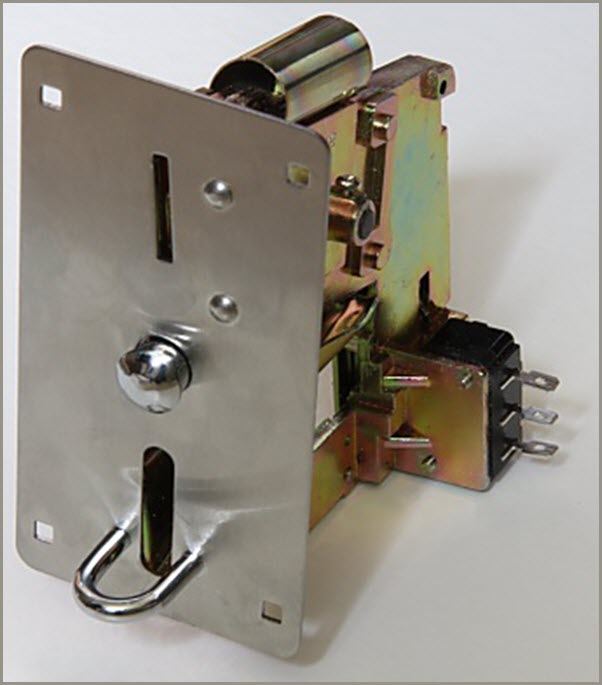
Coin acceptor showing the front face panel and the mechanism behind together with the microswitch that is triggered when a coin is accepted
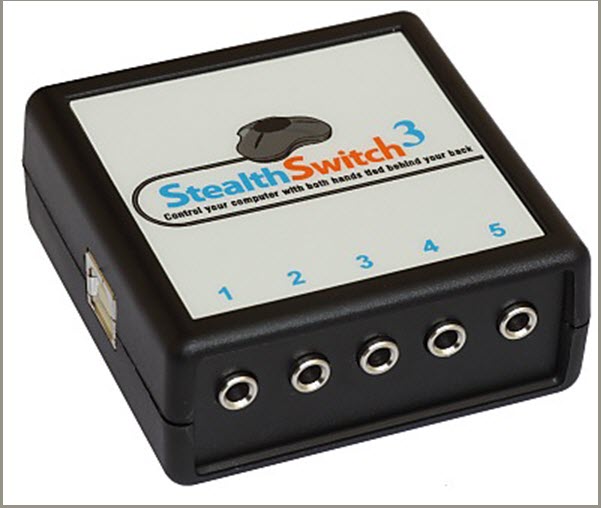
StealthSwitch 3 showing the USB connector on the side and five 3.5mm sockets on the front for connecting auxiliary switches and the coin acceptor
Connecting the coin acceptor to the StealthSwitch 3
To connect the coin acceptor to the StealthSwitch 3 you need a stereo cable with 3.5mm jacks on it and two female spade connectors as shown here:

First cut off the jack plug from one end of the stereo cable and bare the wires. Then plug the remaining 3.5mm jack from the stereo cable into one of the StealthSwitch sockets and plug the USB cable from the StealthSwitch II into the computer. Next run StealthSwitch Configuration Utility and select “Keyboard test mode”. When you press one of the StealthSwitch 3 buttons you should see something like this:
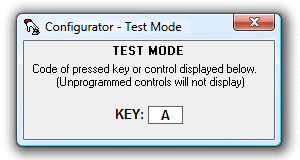
Release the main switch and identify the correct wires to use from the stereo cable by shorting two of them together. When the correct pair of wires are shorted together the keyboard test window will show B, C, D or E. Attach the spade connectors to each of the two wires identified in the previous step. Use a crimp tool or solder them to ensure they are firmly attached. Any unused wires from the cable can be cut back to be out of the way. Finally connect the wire to the arcade switch using the spade connectors and press the microswitch to check that the keyboard test window shows A, B, C or D. The microswitch on the coin acceptor used in this article has three connectors and so you may need to experiment to find the right pair.
Programming the StealthSwitch 3
Use the StealthSwitch II Configuration Utility to program the main button to send the keystroke F4 (to start the photo booth shooting sequence) and the coin acceptor to send the keystroke F12 (this is used by the script to exit standby mode).
photobooth_coin_acceptor.ahk script
The photobooth_coin_acceptor.ahk script can be downloaded from Photobooth_AutoHotKey_Scripts.zip. The script requires AutoHotKey which is a free utility which can be downloaded from www.autohotkey.com Please download and install AutoHotKey before trying to run the script.
Then run the script by double clicking on it in Windows Explorer. When it is running you will see an icon with a white H on a green background in the Windows system tray.
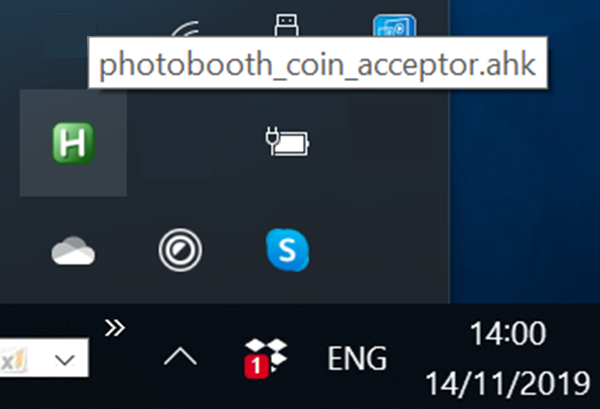
Windows system tray icon showing Breeze photobooth_coin_acceptor.ahk script is running
Note: To exit the script, right click on this icon.

Right click on the icon to exit the Breeze photobooth_coin_acceptor.ahk script
Run the photo booth software and select full screen photo booth mode. If the script is running correctly the photo booth display should switch to standby mode. Insert a coin in the coin acceptor (or press F12) to display the ready screen and then press the StealthSwitch II button or F4 to start the photo booth shooting sequence. After printing the photos at the end of the sequence the photo booth display should automatically switch to standby mode. The welcome.jpg screen is displayed when the photo booth is in standby mode. This screen image can be edited using any image editor to include instructions, logos etc.
Timeout option
The script includes an optional timeout which automatically switches the photo booth back to standby mode if somebody inserts a coin and then doesn’t use the photo booth for a preset period. The default setting for this timeout is 120 seconds (two minutes) but this can be changed by editing the photobooth_coin_acceptor.ahk script using a text editor. To change the timeout edit the line:
TimeoutInSecs = 120
e.g. to set the timeout to 5 minutes (300 seconds) the line should be changed to:
TimeoutInSecs = 300
The timeout can be disabled by setting the value to 0:
TimeoutInSecs = 0
Other options for coin and bill acceptors
Breeze MDB Payment Utility
Breeze MDB Payment Utility (introduced in 2021) is a free companion app which runs alongside Breeze photo booth software to accept payments from a wide range of payment systems such as the Nayax VPOS Touch contactless credit card reader. This utility can be used to accept Apple Pay, Google Pay, Samsung Pay and other mobile and NFC payments, debit & credit cards, notes or cash.
Complete hardware and software solutions for accepting coins and bills are also available from www.casino-software.de:
- DSLR Remote Pro photo booth cash system 2 – coin acceptor, front plate, cabling and interface software
- Photo booth cash control system – hardware and software solution providing a sophisticated photo booth cash control system
- CASH-Interface2 – hardware interface and software for using a wide range of coin and bill acceptors
© Breeze Systems 2022